
This project was created to test the beta features on illustrator for iPad, specifically moving from Illustrator to Fresco. This workflow path is something I see myself doing a lot in the future. I've already been doing similar things with other apps. I wouldn’t be surprised if others do the same, so I thought I'd share that it works great.
Let's go through the full workflow.
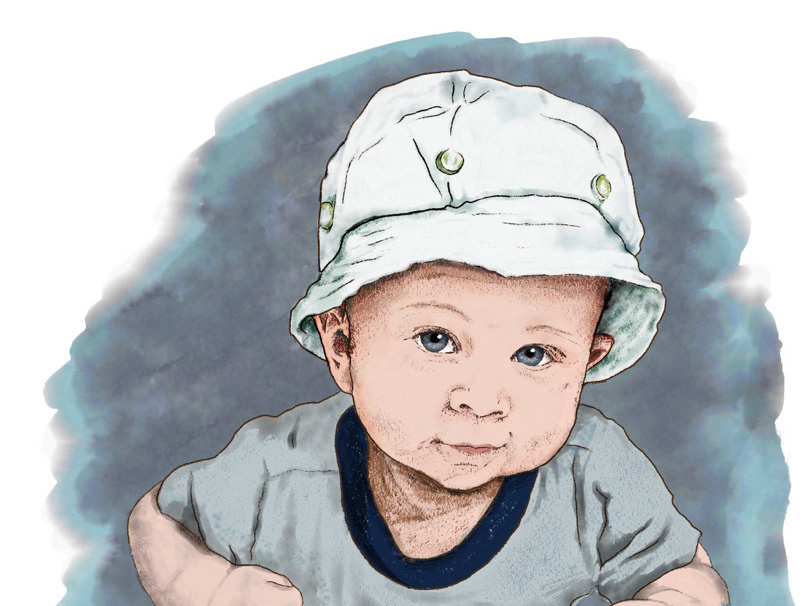
This project started from an old college doodle in a notebook. As you can tell from the notebook binding, this sketch was quite small. It seemed ideal for testing.

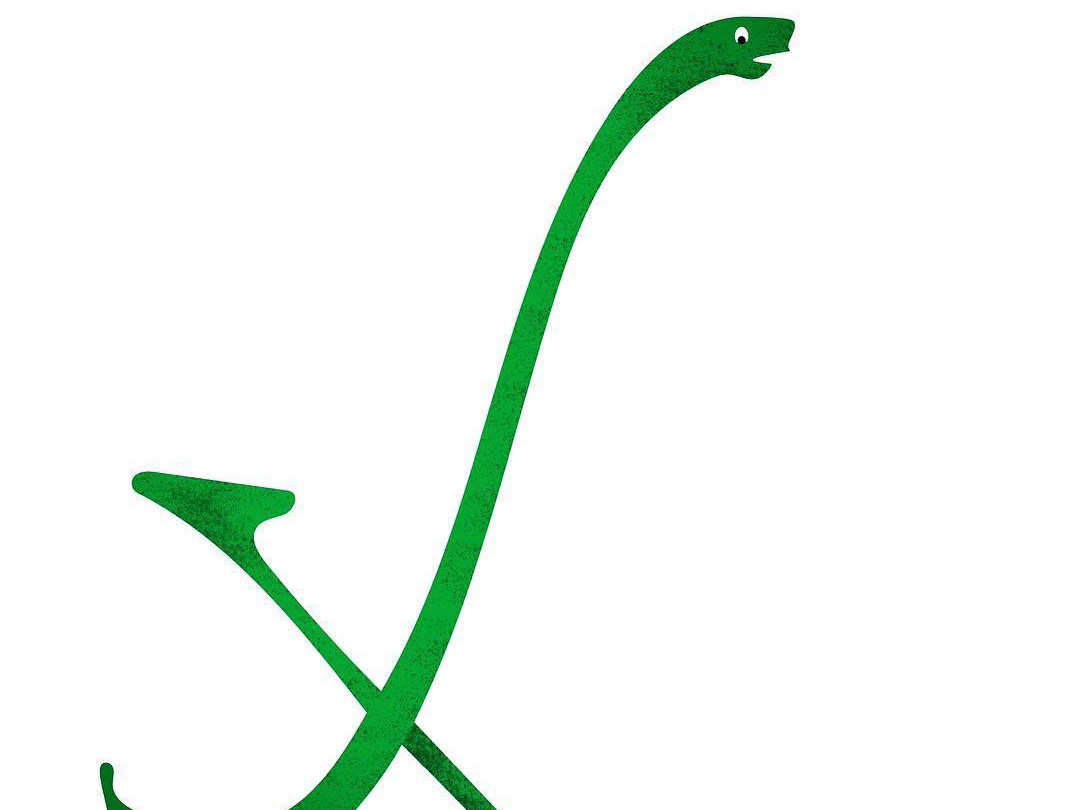
Below is the Illustrator version. Gradients were created using the new touch gradient system to create multiple gradients per shape.

I then brought the project into Fresco. It took me a few minutes to find the options to get the file into Fresco, but it came over great. Each shape comes in as a vector object and they are all grouped together on import.
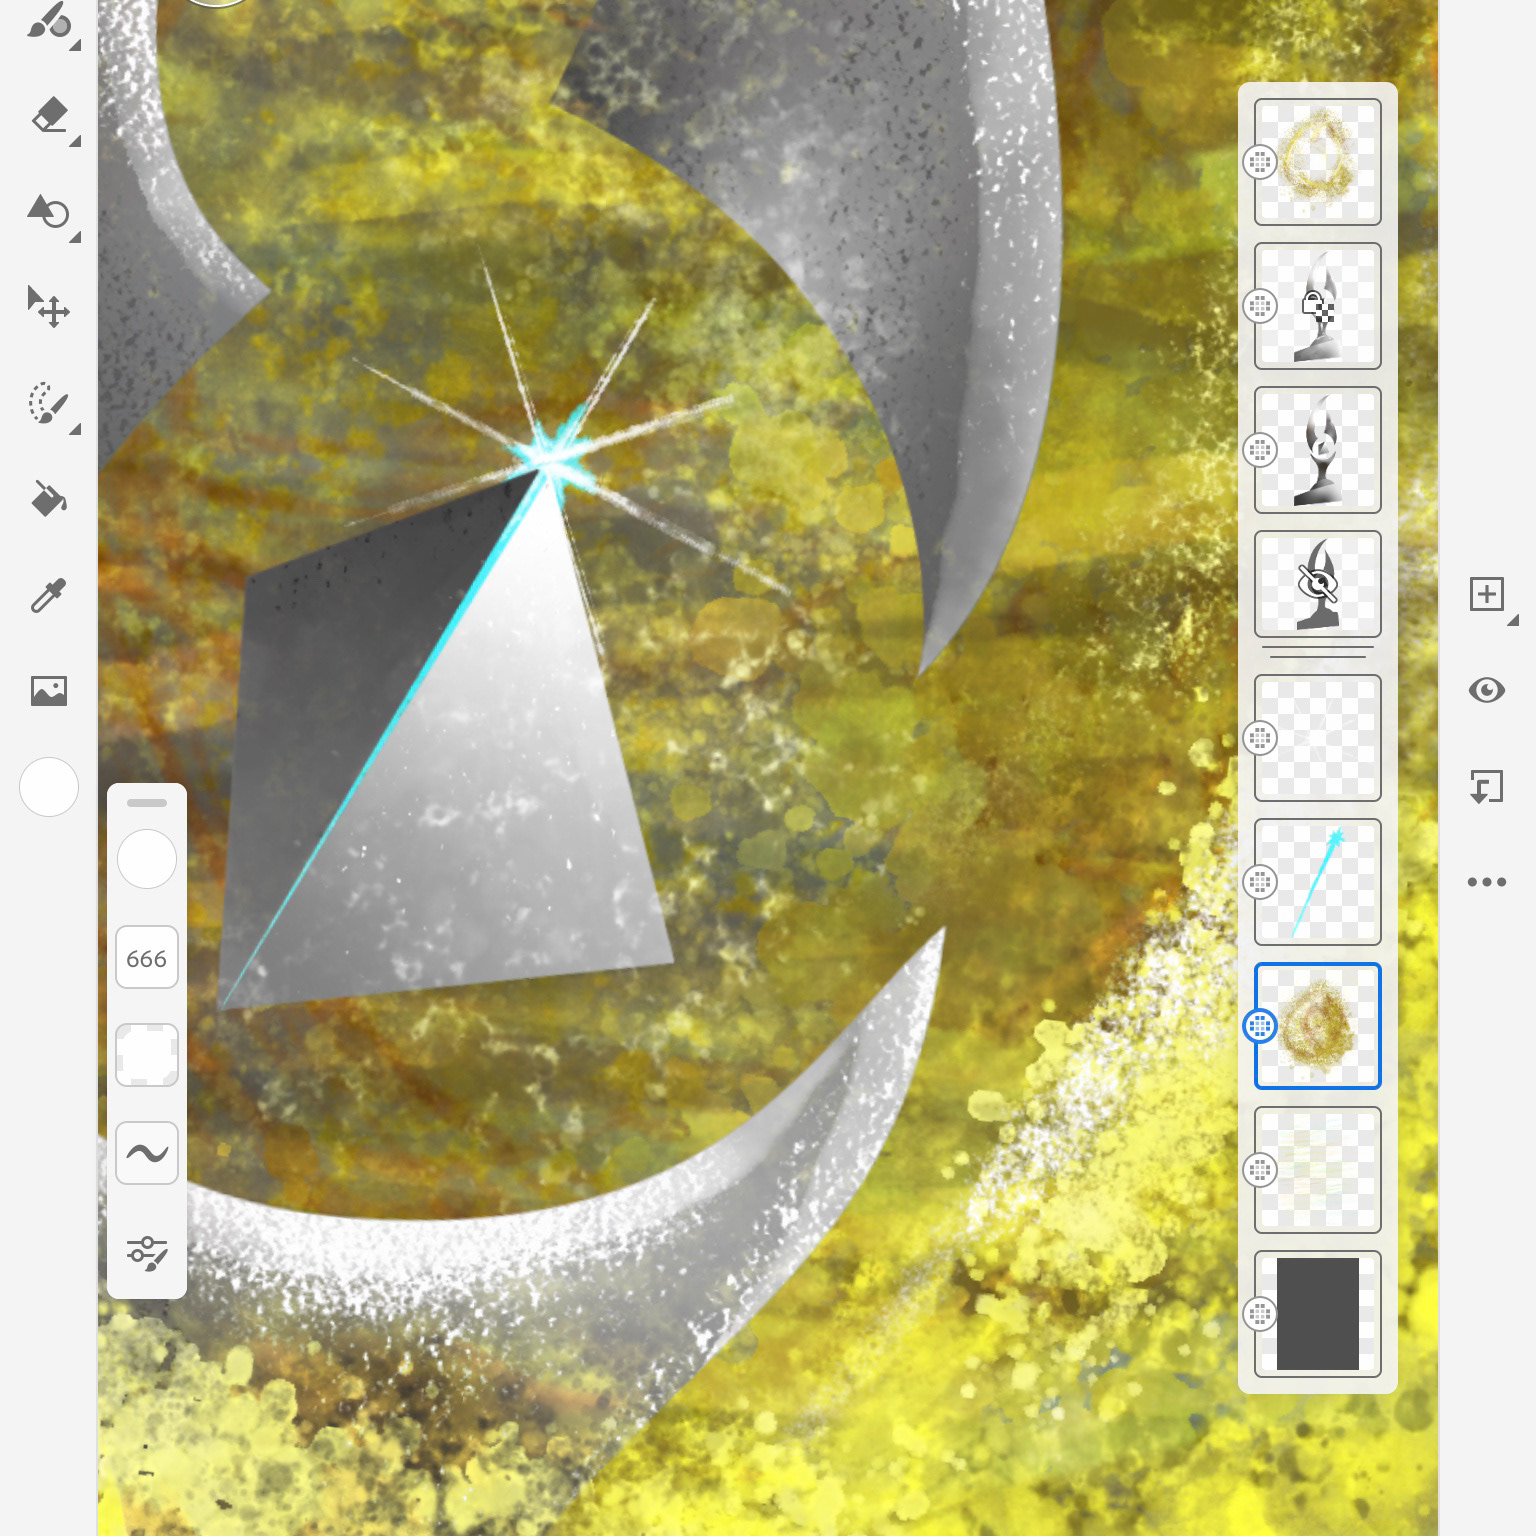
Below is a timelapse of painting in the background and "magic." Kyle's mermay brushes worked really well for the background. The rest was a variety of different brushes.
In the below screanshot you can see how the layers work in Fresco. Notice I have three "layers" of the original object, with the bottom one being a group (that's what the lines mean under the layer icon). The bottom one contains the original vector objects grouped together. The top two are rasterized versions of parts of the vector original. I had to do that to create the look I wanted with brushes, and being able to bring in parts of the project to do that was very helpful.
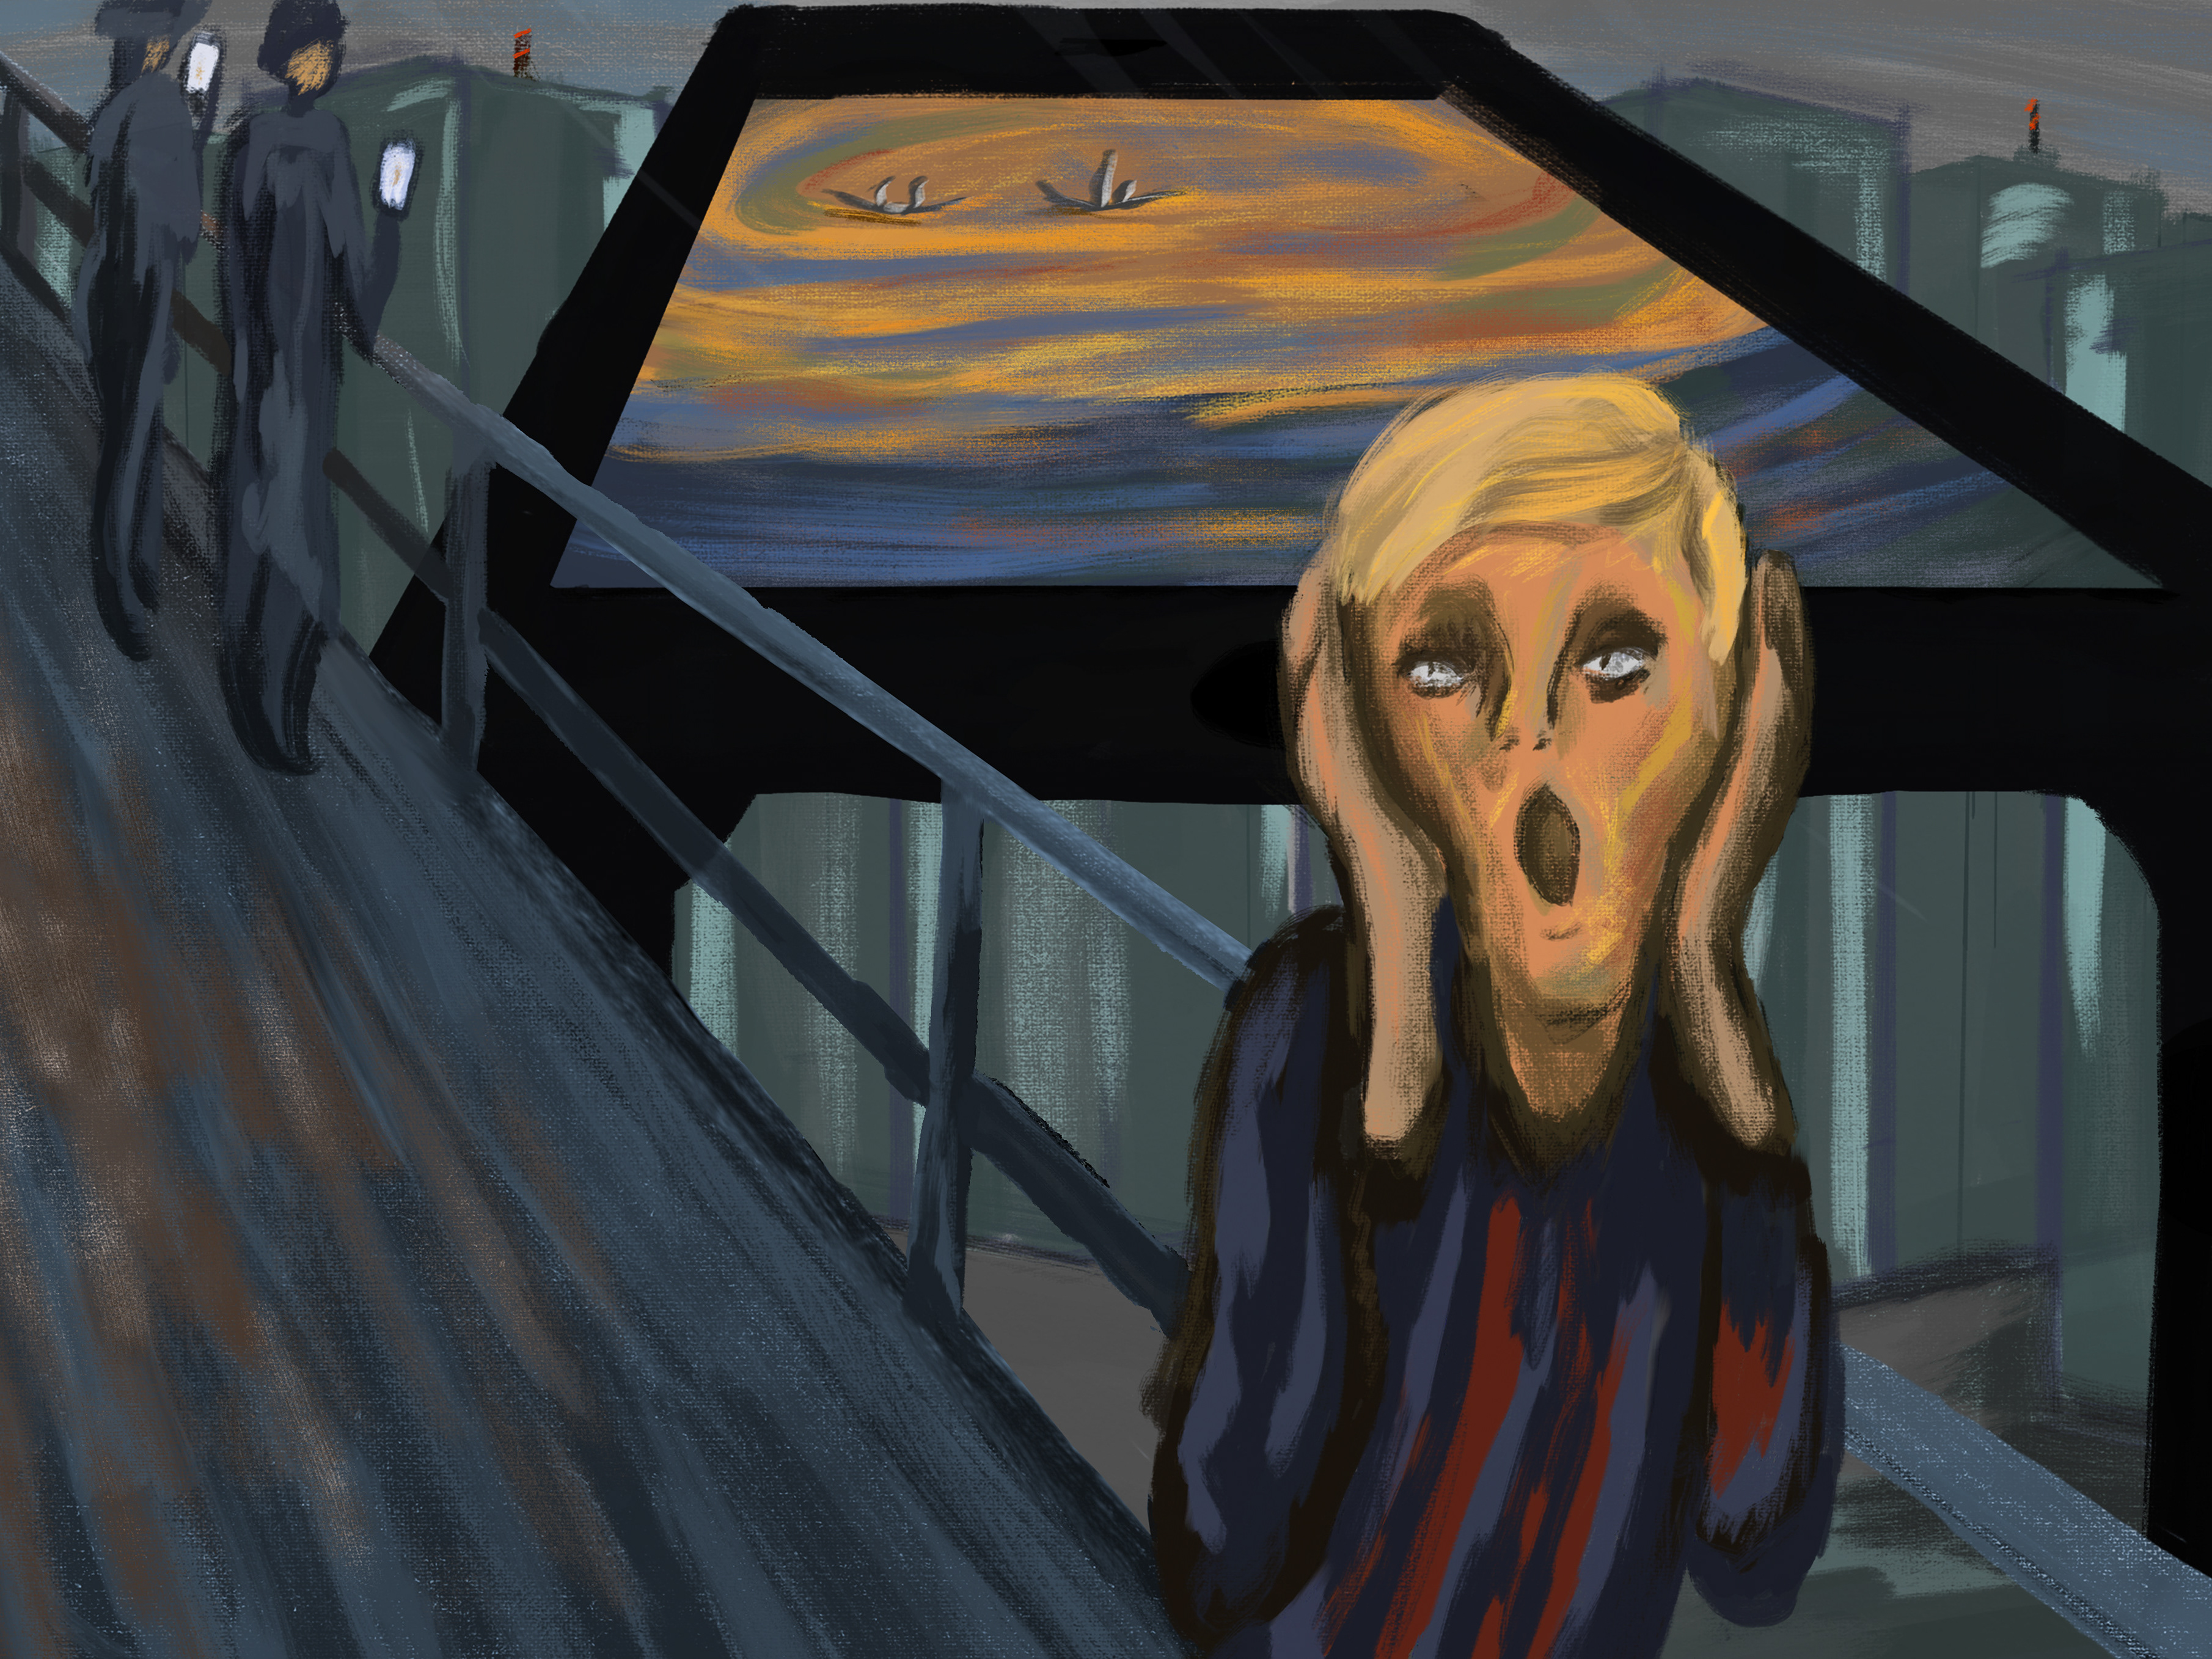
This is the completed test,
with a larger version below.
with a larger version below.
Thanks for checking this out. Please feel free to share, or appreciate.